Last weekend we went on a day trip to Brussels, Belgium. This was my 3rd time and I'm still very much excited. We check out almost every chocolate shops, I had a hard time choosing what kinds of bonbon or praline I will purchase. Walk, walk, walk, choose, choose, choose...time has passed and we need to catch our train back to Holland, while I am sitting inside the train I suddenly realized that I only had callebaut couveture, few pieces of Darcis macarons, and the chocolates from Mathilde. Yes that's it! no bonbons, truffles or pralines. Shame on me!
So...here are a few Brussels photos. Enjoy and drool haha.
The Grand Place
Godiva
Chocolate covered strawberries
Le Funambule Waffles
The best waffle ever!
Messy to eat according to my sister. She had it with chocolate sauce, I like mine plain.
Giant Manneken Pis statue next to the waffle store.
Manneken Pis is a landmark small bronze sculpture in Brussels, depicting a naked little boy urinating into fountain's basin. It was designed by Hieronymus Duquesnoy the Elder and put in place in 1618.
Jeanneke Pis the counterpart of Manneken Pis.
Belgian Beers anyone?
Callebaut!!!!!
Neuhaus is a manufacturer of luxury Belgian chocolates, biscuits and ice cream. The company was foundein Brussels in 1857 by Jean Neuhaus, a Swiss immigrant, who opened the first store in the Koninklijke Sint-Hubertusgalerijen.
In 1912 his granson Jean Neuhaus II invented the chocolate bonbon or praline.
Today, Neuhaus has over 1,500 selling points in 50 countries. All Neuhaus products are still made in Vlezenbeek near Brussels, and are exported worldwide. In 2000 the company received the Royal Warrant of Appointment to the Belgian court.
6 kg Chocolate egg for 300 euro.
Blocks of nougat.
Easter theme window display.
Meringue
We bought the strawberry meringue. It was delicious!
Jean-Philippe Darcis is one of Belgium’s finest pastry chefs, confectioners and créateurs, all in one. He is renowned for his dedication to chocolate and his incredible take on macarons.
Delicious and super moist macarons.
Of course!
Too many chocolates to choose from.
La Cure Gourmande sell cookies, candies and chocolate as well.
Caramel yum!
Munching on free sample cookies haha. Actually she's not a cookie eater.
Beautiful tin cans.
Perfectly arranged cookies.
Looking for souvenirs.
2 1/2 months and she really gained weight. Now that's what you called a vacation.
We saw this shop while searching for Jeanneke Pis.
Bought few of these chocolates, no bonbons, truffles or pralines. For the second time Shame on me!
They also sell herbs and spices.
Salts
Preserves and mustards
Herbs
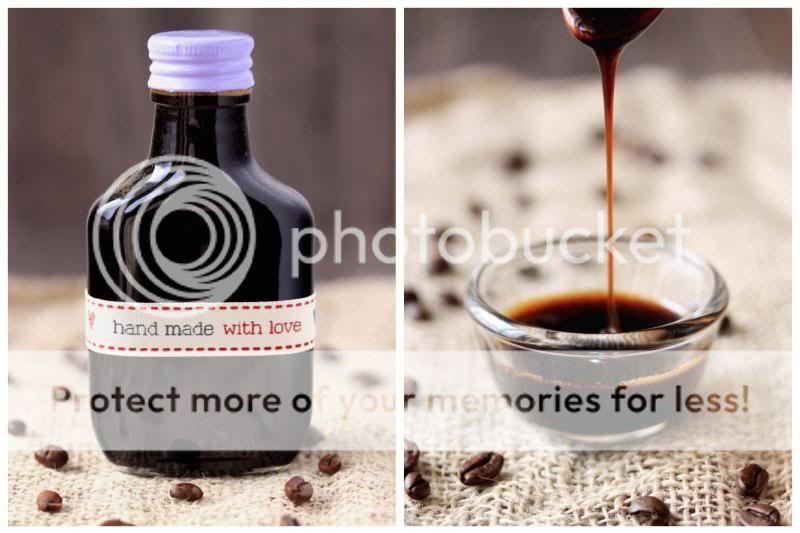
Flavored Liqueurs
Visit to Belgium is not complete without eating Belgian Fries and Waffles.
Inside the train going back to Holland. My sister bought chocolate gift boxes.